How To Fix Uneven Stains On Hardwood Floors
Application of wood stain on hardwood floors is a great way to color the wood and protect the interior and exterior of the wood surface from moisture or fungus attacks. When it comes to wood finishing these days, staining is a necessary activity.
With the purpose of using hardwood to beautify homes, getting an uneven stain surface is definitely not a thing that will sit well with you.
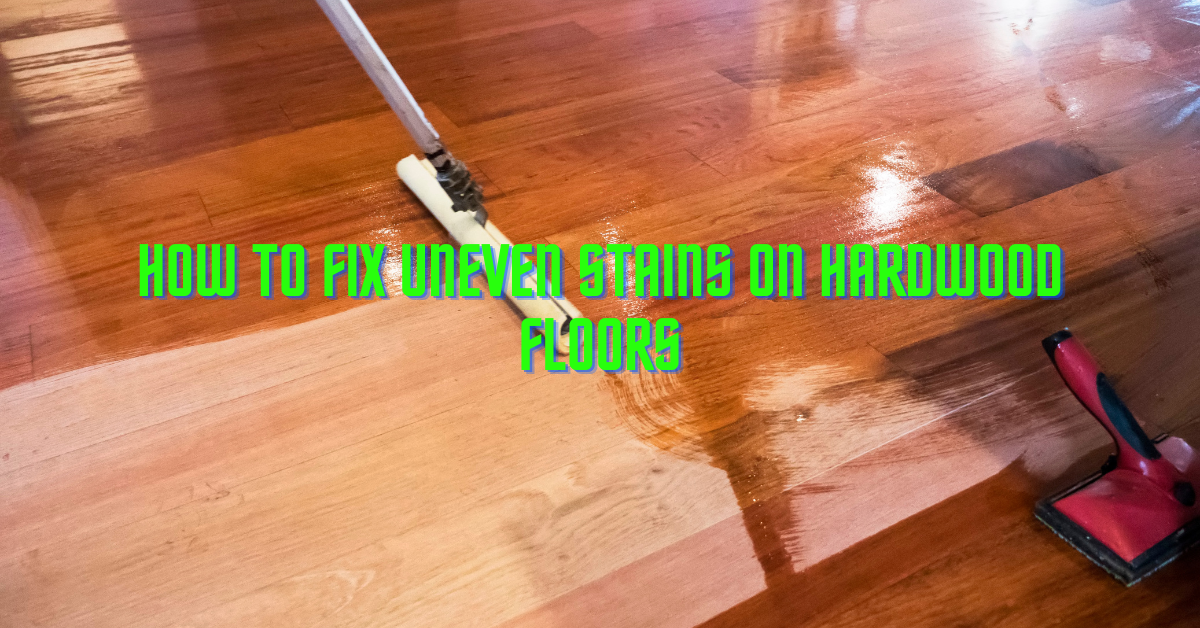
Not to worry, this article addresses how to fix uneven stains on hardwood floors and other common wood stain mistakes you may encounter. Get your floor buffer/sandpaper, paintbrush, roller, microfiber mop, and dust mask ready.

All at a Glance
How to fix uneven stains on hardwood floors
Temporary solutions are not the right approach to uneven stain surfaces. So, you will need to sand down your wood floor and have to re-stain the wood. Let’s look at the required steps;
- Sand the hardwood floor
Before you begin your project, it is advisable to use a face mask to protect yourself from dust. Carefully sand the affected surfaces. You can use 180 to 220-grit sandpaper for this task.
Choose manual sanding by hand, or use a handheld oscillating sander or an orbital electric sander. Sand forward and backward while making sure to always move parallel with the grain of the wood.
Make sure the sanding of the floor is consistent. This stage is important because stains soak into the wood at different rates based on the preparation of the surface. You will achieve an even surface when you apply the stain to a consistently sanded floor.
- Mop the wood floor
To effectively do this, use the microfiber mop to clean up the wood powder. Vacuum too, if needed.
- Stain the hardwood floor
No matter how neat your hardwood floor looks, it still requires staining. Decant a small amount of stain into a bowl. Dip a rag into the bowl but ensure not to take too much.
Apply the stain across the wood grains, intercrossing with each pass. Ensure to carry out this process as fast as possible to completely wet the wood floor. Then, wipe the stain off as quickly as you can with another dry rag.
Let the stain dry for about 2 to 3 days. You can choose to re-stain as long as you make sure to allow it to dry fully after each coat.
- Seal the hardwood floor
The next step is to seal the hardwood floor. Use a roller or brush to apply a coat of polyurethane finish. Let it dry for 6 to 8 hours and you could leave it over the night.
If liquid spills on the floor, the finish will make it bead up so you can easily wipe it away.
Also Read: Top 6 Best Deck stain for full sun
Other kinds of wood stain mistakes and how to fix them
Blotchy stain surface is a common mistake that occurs when applying a wood stain or even after the stain is dried. The common reasons include the following;
- Different densities in the wood staining
The densities of the woods vary. Denser woods like oak or walnut absorb stain better than less dense woods such as pine, poplar, or birch. Those less dense woods have spongy areas that absorb more wood stain unevenly.
- Staining wood without cleaning
A lot of damage can be caused to woods by dust and debris. Once you skip the cleaning process to staining, they will trap inside the stain coat and result in a blotchy surface.
- Staining without drying appropriately
If you apply wood stain over a wet wood surface, the moisture and water particles will get trapped and lead to a blotchy surface. You won’t see the blotchiness until the stain coat is dry. This will not harm the look of the wood but also damage the wood interior.

How to fix blotchy stain surface
- Clean the hardwood floor
Wipe the floor surface with a rag to get rid of dust and debris. You will make the staining process seamlessly because a lot of troubles would have been eliminated by the cleaning. Make sure to cover all spots.
- Allow the wood to dry
Once the wood floor is dry, the next step is to stain the floor. Allow the stained wood floor to dry after applying each coat. Confined water molecules and moisture can cause serious blotchiness.
You can leave the wood to dry for at least 48 hours after each staining, to achieve the desired smooth surface.
- Apply pre-stain wood conditioner
In a case where the wood stain results in a blotchy surface even after applying it correctly, this is due to the stain incompatibility to your wood floor. To address this, you can apply a pre-stain wood conditioner first and then apply the wood stain after it is completely dry.
Ensure to choose the right pre-stain wood conditioner between oil-based and water-based according to the kind of wood stain you planned to use.
- Apply another coat of stain
If the blotchiness is high, the best approach is to sand the part that caused the blotchy surface and then evenly reapply the wood stain.
While this is being done, be sure to apply the same number of coats of stain as other stained areas and allow the wood floor to dry properly after each application. This is a proven method to effectively fix blotchy surfaces.
How to fix sticky stain surface
There are different reasons you could have a sticky stain surface. One is the application of too much stain than required. When a wood stain is applied to another, it won’t absorb the wood like the first coat.
So, it won’t dry properly, and moisture will get trapped inside. Another cause is if your choice of wood stain is thick. Thick coats of wood stain take forever to dry fully even after several months.
The areas that are not dry will later result in a sticky surface. This issue can be fixed using the following procedures.
- Apply stain thinner
Apply stain thinner on the sticky stain surface. This will make the thick layers of the wood stain become thinner and excess stain and moisture will be removed from the surface.
You can carry out this application with the use of a rag and apply it over all affected areas. Carry out that procedure as many times until you are comfortable with the resulting surface.
- Clean excess stain
Use a clean cloth to wipe away excess stains during its application. This will prevent thick layers of stain.
- Reapply the wood stain
Interestingly, the application of another coat of stain before the first layer is dried and wiping it off right away can solve the issue. When you apply another coat of stain above the first, they are both fresh and can be easily removed using a rag.
This will help eradicate the sticky layer, but make sure to do this immediately before the first layer is dried.
How to fix unwanted stain marks, streaks, and drips
Unwanted marks, streaks, and drips happen most times when applying a stain to a wood surface. Even this wood stain mistake is common among woodworkers. The underlying factors may be the application of excess stain quantity.
When the excess stain is applied to wood, it will gather and make high dense patches. Once those patches get dried, they form stain marks which are difficult to eliminate. Another cause is the use of non-smooth brushes.
If the brush used for stain application is not smooth enough, there are likely occurrence of streaks and drips. It is thereby important to always check your brush status before you apply the stain.
The following steps can help tackle unwanted stain marks and drips.
- Apply a good amount of stain
Applying a good amount of stain can prevent the existence of stain marks and streaks. Also, you need to get thin layers to stain to prevent excess stain.
- Cover stain marks with stain
Like most woodworkers do, mask stain marks or streaks on the wood floor with an extra amount of stain. This will cover the patches and dents. Do not apply too much stain so as not to end up with hard patches that are difficult to remove.
In case you got dark patches, dip a rag in mineral oil and wipe it on the excess stain carefully. This process will allow you to gain the desired surface without stain marks or streaks.
Conclusion: How To Fix Uneven Stains On Hardwood Floors
When dealing with an uneven surface, be aware that sanding and staining are different methods, so you need to be mindful of your technique.
Other important measures you should take include wiping off the excess amount of stain and trying to stain during moderate humidity around 70 and 80 degrees. Always keep in mind to clean wood surfaces and allow them to dry completely before moving on to the staining step.
We hope you found the guide provided above insightful and give you a proper understanding of how to fix uneven surfaces and other wood stain mistakes.
Important Reads:


