How To Fix Chipped Wood Corner
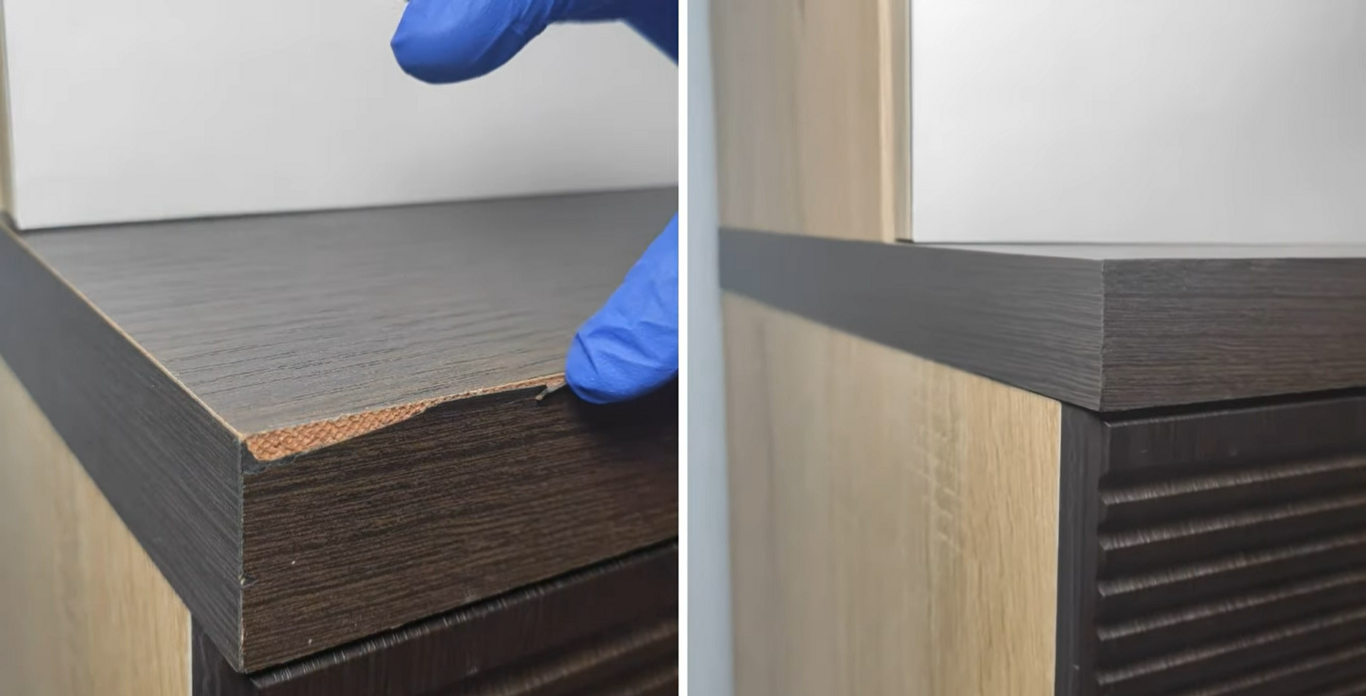
If you have wood furniture, it’s inevitable that you’ll eventually have to deal with chipped wood corners. Whether it’s from a careless bump or a pet claw, these chips can ruin the look of your furniture.
Although knowing how to fix chipped wood corner is one of the more difficulties in woodworking, don’t despair, it can be solved. You must add more wood to the corner and sand it back to its original shape if you are unable to remove the damage with sanding.
Such fixes are typical for beautiful furniture. Fixing a damaged corner on your ancient furniture is simpler than you might imagine. Here’s how to fix chipped wood corners, regardless of whether your dog bit it, the movers shattered it, or someone played too rough.
All at a Glance
How to fix chipped wood corner
The following are the steps to follow to fix chipped wood corners;
Step 1: First, make a hot glue mold.
Making a mold of the shape and details of the damaged or broken furniture corner before attempting to repair it is the simplest method.
Finding a corner with the same specifications as the damaged corner should be very easy because every piece of furniture typically has at least two of everything.
With a hot glue gun and some hot glue, you can quickly create a mold out of a corner that is in good shape. Let’s quickly see how to make hot glue:
- Start by applying cooking spray or Vaseline to the corner that is in good condition.
- Vaseline is crucial because once the hot glue has cooled; it will be simple to remove with it.
- Be sure to make a large enough mold because you’ll need to make one that is between 1 and 2 inches larger than the damaged area.

Step 2: Simply cover the corner with hot glue to create a mold. Make sure there are no holes in the hot glue and apply it thickly. Be very careful not to touch the hot glue or get yourself burned. Then allow the hot glue to completely cool before removing it with care.
Rub extra Vaseline into the molds inside to get it ready for the following stage. This will aid in preventing Bondo adhesion! Any breaks or cracks on the corner should be filled with the tip of a utility knife. With the tip of the glue bottle, pry the cracks open slightly and fill them with glue.
Step 3: Use masking tape to tightly wrap the corner until glue seeps through the gaps. Give the adhesive one hour to dry.
Step 4: Take the tape off.
With a piece of 100-grit sandpaper affixed on a 3/4-by-2-by-3-inch wood block, sand the corner. With firmness, sand the cornerback in a diagonal direction, going beyond the damaged region to produce a surface that is flat and straight.
The goal is to sand the damaged or blunted cornerback in either direction so that there is enough space to glue on another little block of wood.
Step 5: Place the repair block on the damaged corner where you removed a tiny flat spot by sanding. The block should be as near as feasible to the wood species of the affected area.
If it doesn’t fit well, either sand the corner until it fits or sands the repair block flat on the sanding block. Sand all of the surfaces using the same sanding block, which is smooth and unyielding and provides a straight, flat glue surface for the corner and the repair block.
Step 6: Use your fingertip to spread glue on the repair block and hold it by the corner. Masking tape should be used to carefully secure the block to the corner. The adhesive needs to dry overnight.
Step 7: Sand the repair block into place, mimicking the corner’s original shape with the sanding block. If the corner has been rounded or profiled, you can restore it to its original shape using small files, sandpaper rolls, or even chisels.
Step 8: Use a cloth to apply matching stain to the freshly sanded area around the corner and the new wood. Allow the stain to dry as instructed. Aerosol lacquer can be softly sprayed over the repaired area.
Also Read: Top 6 Best deck stains for full sun
How to fix chipped wood corner using wood putty
Step 1: Remove Debris and Chips
Any stray chips or wood fragments in the fractured corner should be carefully removed with a chisel. It is advisable to avoid using a hammer unless it is absolutely required when using the chisel to remove the chips. To remove wood splinters or shards, merely push the chisel along the fractured edges.
Step 2: Rough sand the surface
The place where the table corner is damaged or chipped should be rough-sanded using a piece of low grit sandpaper. You are now not attempting to smooth the surface, merely to remove any splinters or jagged edges that the chisel was unable to remove.
Step 3: Fill in with putty
Use a putty knife to apply wood putty to the table’s fractured or damaged corner. Try to make the surface as flat as you can when applying the putty. Don’t bother about forming the corner just yet, though. Follow the instructions on the wood putty can and give it time to completely dry.

Step 4: Sand Putty
Sand the damaged tabletop’s corner once more. This time, make an effort to make the wood putty’s surface pretty smooth.
Step 5: Use wood putty to shape the corner.
Once more, start filling in the damaged region of the table top with wood putty. This time, make an effort to apply the putty so that the table’s corner has straight edges. The putty knife must be used to round the corners, and putty must be added gradually.
Step 6: Install the form frame
The forming frame should be put in place on the tabletop’s corner while the putty is still wet. To accomplish this, make a 90-degree angle out of two pieces of 1-by-1 wood trim. After that, drive a finishing nail through one piece of wood and into its edge.
After that, use finishing nails to attach the form frame to the tabletop edge by aligning it with the corner of the tabletop. The corner of the form frame may press the earlier-formed wood putty in. Don’t be concerned if this happens.

Step 7: Let the putty dry.
Give the wood putty time to dry completely.
Step 8: Take a Corner Out of the Frame
Remove the form frame from the edge of the tabletop once the putty has dried. To peel the shape away from the tabletop, you might need to use a claw hammer or pry bar.
Step 9: Fill in nail holes
Fill the form’s holes with wood putty using a putty knife.
Step 10: Final sanding
Sand the whole surface of the repaired table top corner and the wood putty around the nail holes using high-grit sandpaper.
Step 11: Finish Paint or stain with your preferred finish.
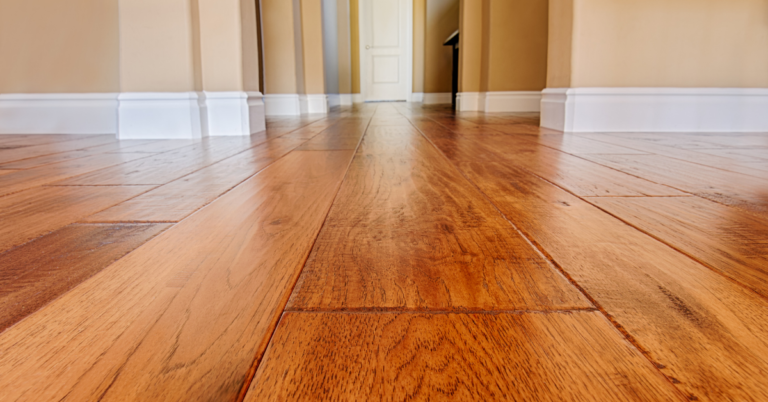
How to Restore Wood Flooring with a Chipped Edge
Things you’ll need:
- Matching hard wax for your floor
- Warm iron
- Metal, plastic, or a 5-in-1 tool Rag
- Warm up the iron and select your wax
While deciding which colors to use, first warm up the iron. To get a precise match, you might need to combine several colors. Scrape off portions of the wax you want to blend to do this. Then, combine the colors into a circle that is flat and let it cool.
- Apply melted wax to the damaged area.
Put your wax on top of the chip once your iron is hot and ready. Then, fill the area with wax by pressing your hot iron into it.
Create enough of this to have extra to scrape off so that the area is flush and smooth. Allow the wax to cool after the area has been filled in. When the color gets duller than it was before, you’ll know it’s completely cooled.
- Remove any leftover wax and re-create the bevel
Use a plastic or metal scraper to remove the extra wax after it has cooled. If your floor has a bevel, you can duplicate it using a knife or edge. Use a rag to wipe away any extra bevel after you’re satisfied with it.
- Blend in repair
To blend in your chipped edge restoration, you might need to duplicate any wire-brushing or scraping that is present on your floor. To create tiny “wire-brush” scratches in the grain, use the edge of your scraper or a 5-way tool.
Additional step: You can also use lighter wax that matches the board’s highlights to blend in your repair. Melt this color over your first layer of wax, and as it cools, scrape out any excess. If it’s along a level, you’ll have to scrape it again.
When you’re finished, buff the area to remove any remaining surplus. It may take some experience to become comfortable using these instruments for this kind of repair. But once you get the hang of it, you’ll be able to avoid replacing many boards later on.
Conclusion: How To Fix Chipped Wood Corner
Purchasing used or vintage furniture has become the newest craze among those looking to live more sustainably. Particularly wood furniture is susceptible to damage over time. Therefore, being able to repair little dings or chips in them is a necessary ability.
It is crucial that you select the ideal wood stain that perfectly complements your furniture before following this advice. It’s also essential to become comfortable with a cordless drill in case you need to use one.
Prior to sanding, be extra careful to be patient and allow the wood filler to dry completely. We wish you happy fixing.
Important Reads:

